You can now turn any flat photograph into a navigable 3D environment. World Labs Image-blaster uses Anthropic's Claude software to bridge the gap between 2D photography and immersive depth. This workflow eliminates the need for manual 3D modeling from scratch. The process depends heavily on your initial input quality. You will learn how to select the right images and adjust depth settings for a production-ready export. Mastering these settings ensures your generated meshes remain stable and usable in professional pipelines. By automating the most tedious stages of spatial creation, this tool allows artists to move from concept to prototype in minutes. However, success requires a precise approach to lighting and resolution. The following guide breaks down the essential steps for a seamless transition from pixel to polygon.
The tool that changes the workflow
World Labs Image Blaster converts flat photos into navigable 3D environments. The tool uses Anthropic's Claude software to bridge the gap between 2D photography and 3D asset creation Image Blaster uses Claude[1]. It eliminates the need for manual modeling in early concept stages.
Elena Rostova, a freelance environment artist, relies on this speed. She used to spend hours blocking out basic geometry for client pitches. Now she generates rough spatial layouts in minutes. This shift allows her to test more visual ideas before committing to detailed work.
The core promise is simple. Upload a single image and get a 3D space you can walk through. You do not need to know how to model vertices or UV unwrap textures. The AI handles the heavy lifting of depth estimation and mesh generation.
Speed is the primary advantage here. Traditional 3D modeling requires precise control over every polygon. Image Blaster skips that step entirely. It provides a functional base for iteration rather than a final render-ready asset.
Artists must understand the tool's limits, however. The geometry is not always mathematically accurate. Complex shapes may appear distorted or flattened in certain areas. Rostova treats the output as a starting point, not a finished product.
This approach changes how teams handle early-stage visualization. Clients can see spatial relationships before any real modeling begins. Feedback happens faster because the visual language is already three-dimensional. The risk of miscommunication drops significantly.
The tool does not replace skilled modelers. It replaces the tedious early hours of blocking out scenes. Artists can focus their energy on refining details rather than creating structure from scratch. This efficiency gains compound over large projects.
Understanding these boundaries is crucial for success. Do not expect photorealistic precision from the initial output. Use the generated mesh to establish composition and scale. Then apply your own artistic judgment to refine the result.
Finding the right starting image
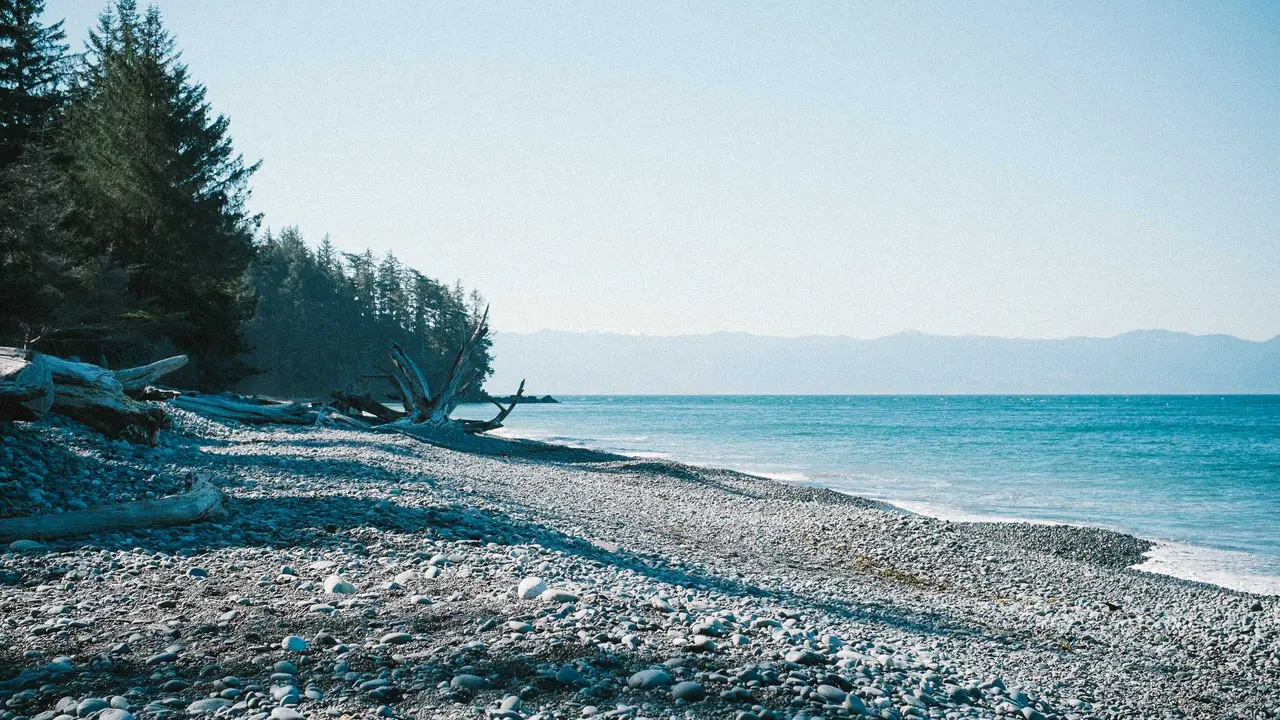
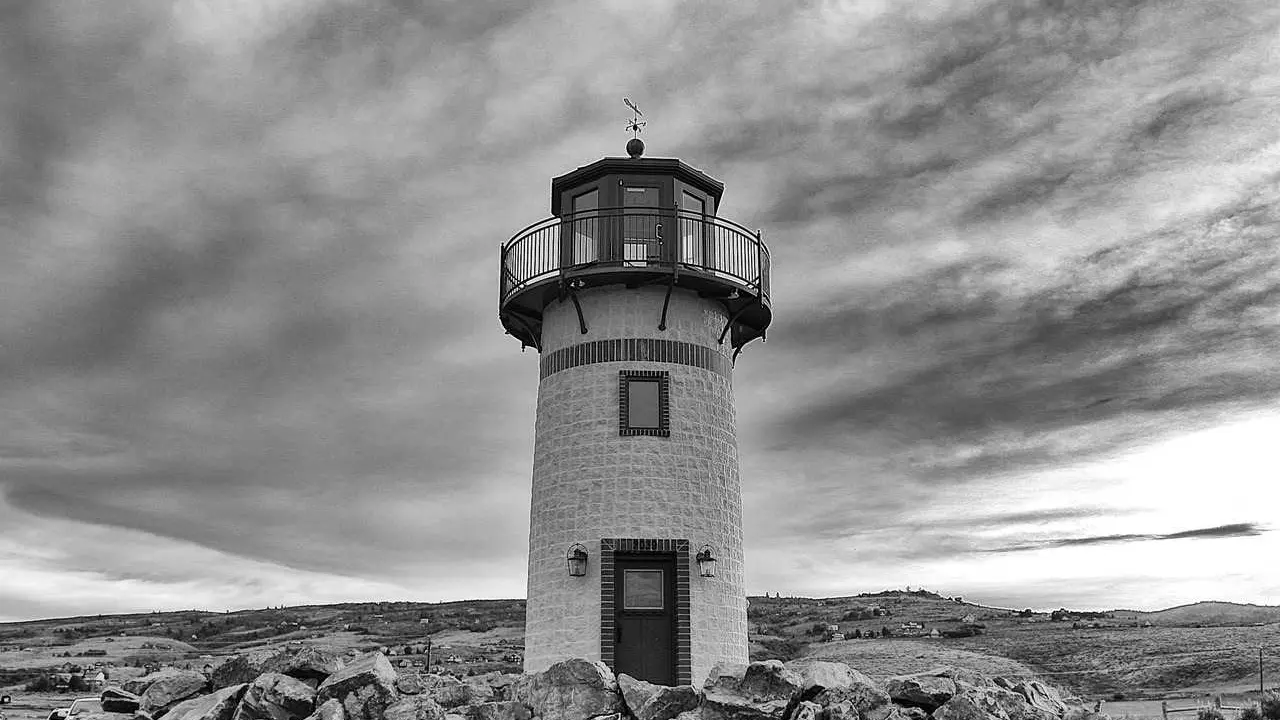
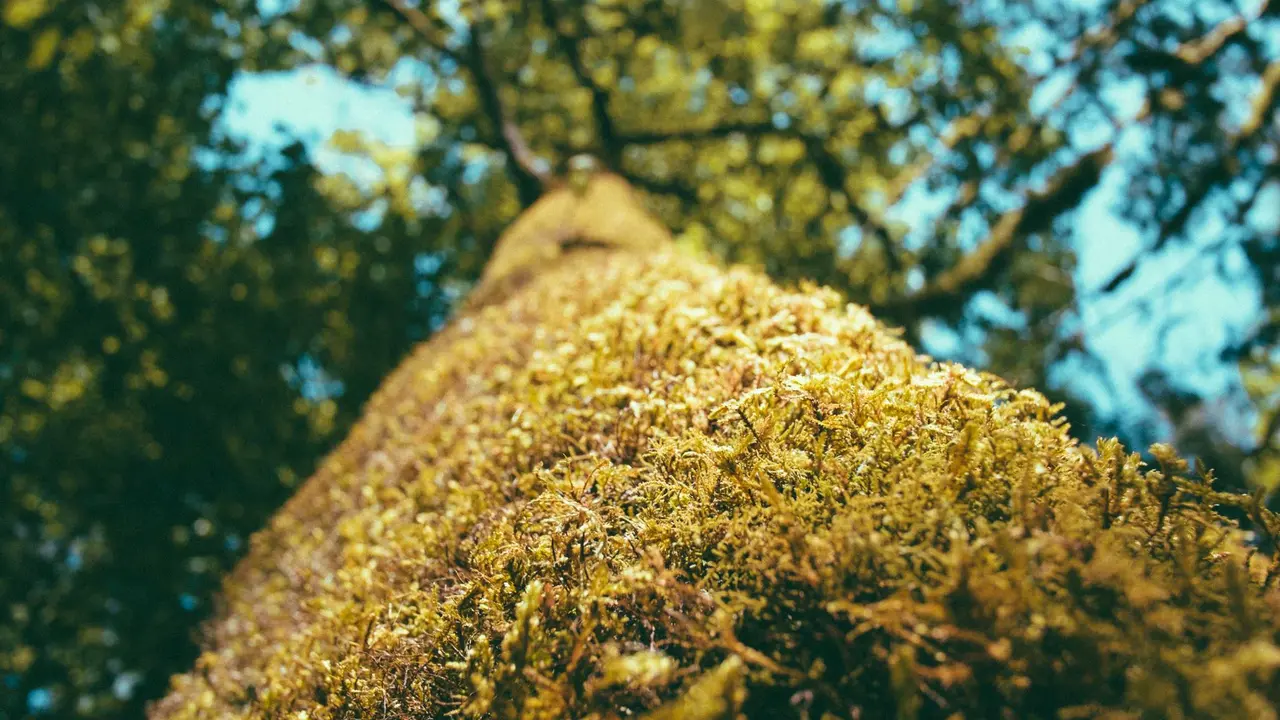
Input quality dictates output quality. The AI cannot invent depth where none exists. You must provide clear visual cues for the system to interpret. Shadows, perspective lines, and distinct foreground separation help the algorithm build a reliable mesh. A photo of a forest path with dappled light works better than a flat graphic of a tree. The former offers natural depth gradients. The latter offers only edges. The AI struggles to guess distance from a silhouette. Choose images with strong contrast between near and far objects. This gives the software a roadmap for geometry. Avoid overly cluttered scenes. Too many overlapping elements confuse the depth estimation engine. The result is often a noisy mesh with holes. Abstract art also fails. It lacks the realistic lighting data the tool needs. Stick to high-resolution photos. Aim for 1080p or higher. This preserves texture details like bark grain or fabric weave. Low-res images lose these nuances. The final 3D model looks blurry. The tool uses various software, including Anthropic's Claude[1], to analyze these details. It relies on clear data. Garbage in means garbage out. Test your source image first. Look for clean lines. Check for consistent lighting. Ensure the subject stands out from the background. If the image looks flat to your eye, it will be flat in 3D. Do not waste time processing poor inputs. Select carefully. The rest of the workflow depends on this choice. A strong start saves hours later. It reduces the need for manual cleanup. It ensures the exported asset is usable. Focus on clarity. Focus on contrast. Focus on resolution. These three factors matter most. Ignore them at your peril. The AI is smart but not magic. It needs help. Give it a good foundation. Build on that strength. Your final scene will thank you. The process is fast. But speed means nothing without quality. Quality starts with the file you choose. Pick wisely. The tool will do the rest. But only if you guide it. Provide clear signals. The AI follows them. It does not guess. It calculates. Feed it good data. Get good results. This is the rule. Follow it strictly. Your project depends on it. The image is the seed. Treat it with care. The 3D world grows from it. Make sure the soil is rich. Do not plant in sand. Choose the right photo. The rest follows naturally. The workflow is simple. But the input is critical. Never underestimate it. It is the foundation. Build it strong. The structure will hold. The details will shine. The final product will impress. Start with the best image you have. It makes all the difference.
Uploading and processing the file
The upload interface is clean and fast. You access it directly through the World Labs platform dashboard. Click the Image-blaster tile to open the workspace. The screen loads instantly. No complex menus block your path. The tool is built for speed, not confusion. You get straight to work.
Drag your file into the central drop zone. You can also click the folder icon to browse your local drive. The system accepts standard image formats like JPG and PNG. Make sure the file is ready. The upload bar fills quickly. A green checkmark confirms receipt. The system is waiting for your input.
Processing begins automatically once the file lands. The server analyzes the pixels in real time. It builds a depth map from scratch. This step usually takes 30 to 60 seconds. Heavy server load might add a few extra moments. Patience pays off here. The AI is doing the heavy lifting.
The engine uses Anthropic’s Claude software to interpret spatial cues within the 2D image[1]. It guesses where objects sit in space. It separates foreground elements from background layers. This happens behind the scenes. You see a progress ring spin. Do not close the tab. A timeout kills the session.
Keep the browser window active during this phase. Switching tabs can interrupt the connection. The system needs a steady link to the server. If the process drops, you start over. That wastes time and effort. Stay on the page. Watch the progress indicator climb. It moves steadily toward completion.
The depth map generation is the core task. It translates flat pixels into 3D coordinates. The AI looks for shadows and perspective lines. It infers distance based on visual clues. This is where the magic happens. The flat image gains volume. The geometry takes shape. You wait for the render to finish.
Once the processing bar hits 100 percent, the view updates. Your 2D photo is now a navigable space. You can rotate the camera around the model. You can zoom in on details. The initial mesh is ready for review. The hard part is done. The next steps are yours to take.
Adjusting depth and lighting settings
The initial 3D mesh is rarely perfect. World Labs Image Blaster uses Anthropic's Claude software[1] to interpret flat pixels, but AI depth estimation often misreads subtle gradients. You must tweak the post-processing controls to fix geometry errors before exporting. A quick adjustment here saves hours of manual cleanup later.
Start with the depth intensity slider. This control determines how far the AI pushes pixels away from the camera plane. If the slider is too high, the model looks distorted and stretched. If it is too low, the scene appears flat and lifeless. Find the middle ground where foreground objects pop without warping the background. Test this by rotating the view slowly. Look for holes in the mesh or jagged edges along sharp lines.
Lighting adjustments come next. The tool infers light direction from shadows in your original photo. Sometimes this inference is wrong. Harsh shadows may appear on smooth surfaces. You can correct this by shifting the virtual light source. Move the light until the shadows match the original image’s mood. This step ensures the texture maps correctly onto the new geometry. Proper lighting hides minor imperfections in the mesh structure.
Rotate the model to check for artifacts. AI-generated meshes often contain stray vertices or floating geometry. These errors are invisible from one angle. They become obvious when you orbit the camera. Zoom in on complex areas like foliage or fabric folds. Check for tearing or missing polygons. Minor manual tweaks in this stage prevent broken renders in your final project. Fixing these issues now is faster than rebuilding the model from scratch.
These controls give you precision. The AI provides the foundation. You provide the polish. Take your time with the sliders. Small changes have large visual impacts. A well-lit, properly scaled model looks professional. A rushed export looks amateur. Master these settings to get the most out of the tool. Your final asset depends on this review phase.
Exporting assets for real projects
The export step bridges the gap between a browser-based preview and a production-ready asset. World Labs Image-blaster supports standard industry formats like OBJ, FBX, and GLB for direct engine integration[1]. These files drop straight into Unity, Unreal Engine, or Blender without conversion headaches. The original 2D image wraps automatically as a texture map onto the generated mesh. This preserves the visual fidelity you saw during the review phase.
Texture mapping is rarely perfect on the first try. The AI infers surface geometry from flat pixels, which can cause stretching or seams. You will likely need to adjust UV maps in your preferred 3D software. Blender offers free tools to unwrap and relax these coordinates manually. Fixing distorted textures here saves hours of re-rendering later. A clean mesh looks professional. A stretched texture looks amateur. Take the time to correct the mapping before moving to the next stage.
Scaling is another common pitfall for new users. The generated model has no inherent real-world dimensions. It might be ten meters tall or ten centimeters, depending on the source photo. You must manually scale the asset to match your scene’s requirements. Use a reference object, like a character model or a standard door frame, to gauge size. This ensures the environment feels grounded and believable. Incorrect scaling breaks immersion instantly. Viewers notice when a tree looks like a toothpick or a building looks like a toy.
Path management can also cause unexpected errors during import. Some 3D engines struggle with file paths containing spaces or special characters. Keep your project folders in a clean directory structure. Avoid nested folders with complex names. This simple habit prevents unexplainable loading failures. It also keeps your workflow smooth and predictable. A stable file path is as important as a clean mesh. Do not let technical glitches derail your creative progress. Focus on the art, not the file system.
What to watch for next
Complex organic shapes still trip up the AI. The system struggles with tangled branches or flowing water, often producing messy geometry that requires manual cleanup in Blender or Maya. This is the current ceiling of the technology.
World Labs is working on multi-image stitching. This upcoming feature will let users combine several photos to build larger, more detailed environments. It addresses the single-image limit that currently restricts scene scale.
Keep an eye on the platform's changelog. Updates on AI accuracy and new depth-estimation models appear regularly. The tool uses Anthropic's Claude to process images, and improvements to that underlying software directly boost output quality Image Blaster uses Claude[1].
Experiment with different photography genres. Architectural shots usually convert cleanly, while abstract art often fails. Test the tool's boundaries by uploading varied subjects. You will quickly learn which styles yield the best results.
Early adopters are shaping the tool's future. Feedback from professional artists influences development priorities. The platform evolves based on real-world usage patterns.
The technology is moving fast. What works today may be obsolete next month. Stay engaged with the community to spot trends early.
New features drop without warning. A sudden update might add support for video input or real-time rendering. Being prepared means checking the site often.
Your workflow will change as the tool improves. Automating more steps frees up time for creative decisions. Focus on high-level design rather than tedious modeling tasks.
The gap between 2D and 3D is closing. Image Blaster is a key part of that shift. It lowers the barrier to entry for complex scenes.
Watch for integration updates with major engines. Seamless imports into Unity or Unreal would save hours of setup. That is the next logical step for the developers.
For now, treat the output as a starting point. It is a base mesh, not a final asset. Refine it to meet your project's specific needs.
The learning curve is steep but rewarding. Mastering the tool gives you a competitive edge. Speed matters in modern production pipelines.
Do not wait for perfection. Start using the current version today. Learn its quirks and work around its limitations.
The future of 3D creation is hybrid. AI handles the heavy lifting. Humans provide the artistic direction.
This partnership between human and machine is just beginning. The next year will bring significant changes.
Stay curious and keep testing. The best results come from trial and error. Push the tool to its limits.
Your projects will benefit from these advances. Faster iteration leads to better final products.
The industry is watching this space closely. Innovation here could reshape how we build digital worlds.
Be ready to adapt. New tools require new skills. Invest time in learning the latest techniques.
The journey from flat photo to 3D world is shortening. Image Blaster makes it accessible to more creators.
This democratization of 3D art is powerful. It opens doors for indie developers and hobbyists.
The potential is huge. We are only scratching the surface.
What happens next depends on user adoption. The more people use it, the better it gets.
Join the conversation online. Share your results and learn from others.
Community knowledge is invaluable. It helps everyone improve their workflow.
The tool is a work in progress. Expect bugs and occasional glitches.
Patience is key. The developers are listening to feedback.
Improvements are coming. The roadmap looks promising.
Keep your expectations realistic. The AI is not magic.
It is a powerful assistant. Use it wisely.
The end result is worth the effort. You save time and gain creative freedom.
That is the real value proposition. Speed and flexibility.
Make the most of it. Your portfolio will thank you.
The next big update is likely around the corner. Stay tuned.
Your creative possibilities are expanding. Embrace the change.
The future is 3D. And it is easier to build than ever before.
The gap between 2D and 3D is closing. As World Labs develops multi-image stitching, the ability to build expansive, high-fidelity digital worlds will only grow. The industry is watching closely to see how these automated workflows reshape modern production pipelines.