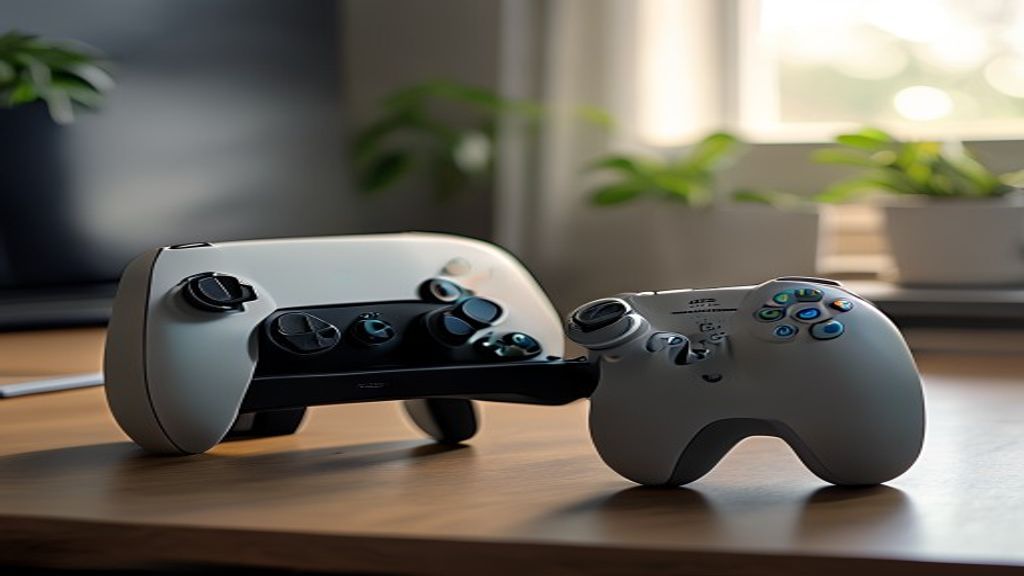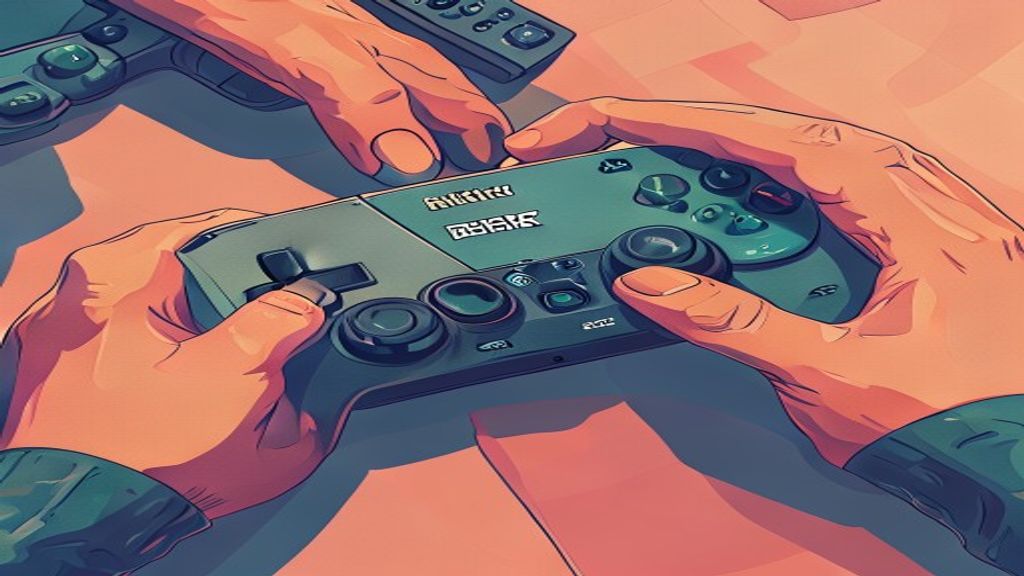
Your Xbox Elite controller performs far below its potential. Most players stick to factory defaults right out of the box. This leaves expensive, high-performance hardware underutilised. You can transform your gameplay by adjusting physical trigger locks and remapping buttons. This guide shows you how to use the Accessories app to build a custom setup. The difference between a standard setup and a pro configuration is just a few clicks. Many users fear breaking expensive gear. They worry about voiding warranties or damaging the internal components. However, software customization is entirely safe and fully reversible. You can reset to factory defaults at any time without using a single tool.
Why the default settings hold you back
Most players unbox the Xbox Elite Wireless Controller Series 2 and plug it in. They play with factory defaults. This wastes the hardware's potential. The device costs over £130. It is designed for precision, not just basic input. Using it like a standard gamepad leaves money on the table. You pay for customization but ignore it.
The goal is simple. Turn the controller into a precision instrument. It should fit your hand size. It should match your play style. The Elite series offers modular components and durable build quality for enhanced comfort. It is ideal for competitive gamers seeking a personalized experience and high performance. Default settings ignore these advantages. They treat every player the same. Your hands are unique. Your reflexes are unique. The settings should reflect that.
Many users fear breaking expensive gear. They worry about voiding warranties. They hesitate to change anything. This anxiety is unnecessary. Software customization is safe. It is fully reversible. You can reset to factory defaults anytime. No tools are required. No soldering is needed. The risk is low. The reward is high. You gain control over your inputs.
Think of the controller as a blank canvas. The default layout is just a suggestion. It is not a rule. Changing settings does not damage the hardware. It unlocks it. You can experiment freely. If a change feels wrong, revert it. Try something else. The process is iterative. It takes time to find your sweet spot. But the result is worth it. You get a controller that feels like an extension of your hands. Not a generic tool. A personal instrument.
The app is your command center
You cannot unlock the controller's potential without the Xbox Accessories app. This software is the bridge between your hardware and your specific play style. It turns a generic gamepad into a precision instrument. Without it, you are just using expensive plastic.
The app works on both Xbox consoles and Windows PCs. You can also use it on Android devices if needed. The controller supports multiple platforms[1] out of the box. This flexibility means you can customize your settings anywhere. You do not need to be tethered to a single screen.
Start by connecting the controller to your device. Use the included USB-C cable for the most stable link. Bluetooth pairing is an option but can introduce slight input lag. A wired connection ensures the app recognizes the device immediately. It also charges the battery while you work.
Once connected, the app interface appears on your screen. You will see a digital twin of your controller. This visual map lets you adjust every button and stick. The layout is intuitive and mirrors the physical device. You can tweak settings without guessing which control does what.
The app organizes your customizations into profiles. You can create separate layouts for different games. One profile might suit fast-paced shooters. Another could work better for slow strategy titles. Switching between them takes only a second.
All your changes save directly to the controller's memory. This is a critical feature for mobile gamers. You can take the controller to a friend's house. Your custom settings travel with the hardware. They do not stay locked to your specific console or PC.
Calibration tools are also built into the software. You can fine-tune stick sensitivity and dead zones. This helps eliminate drift or oversensitivity issues. The app gives you granular control over input response. You can dial in the exact feel you prefer.
The interface updates regularly with new features. Microsoft adds support for new games and functions. Keeping the app updated ensures you have the latest tools. It also fixes bugs that might affect performance.
You now have full control over your hardware. The next step is adjusting the physical triggers. This changes how fast you can fire in games. We will cover that process in the next section.
Tweak the triggers for faster response
The adjustable trigger locks on the Xbox Controller Elite 3 change how fast you can fire. You slide the physical stops closer to your palm. This reduces the distance your fingers must travel. It cuts reaction time in competitive shooters.
Most standard controllers require a full press. The Elite controller lets you set the travel distance. You can choose a short, medium, or long position. The shortest setting feels like a light tap. It is ideal for fast-paced games where every millisecond counts.
Think about playing a first-person shooter. You need to react instantly to an enemy. A shorter trigger pull means less finger movement. Your aim stays steadier on the stick. You do not have to lift your hand as much. This small physical change can improve your accuracy.
The hardware is built for this kind of customization. The modular components allow you to adjust the feel. You can lock the triggers in place easily. The mechanism clicks into position securely. It feels solid and responsive during intense matches.
Do not set the triggers too short for every game. Racing games often require precise throttle control. A very short trigger might cause accidental full acceleration. Platformers may need gentle inputs for jumping. Using the same setting for all games can feel awkward.
Adjust the locks based on the genre you are playing. Use the shortest setting for competitive shooters. Switch to a longer travel distance for racing or simulation games. This balance keeps your performance high across different titles. The ergonomic design supports these changes comfortably.
Test the settings in a practice mode first. Get a feel for the new travel distance. Make small adjustments if the response feels too sensitive. The goal is precision without accidental inputs. Fine-tuning takes a few minutes of playtime.
The difference in speed is noticeable once you adjust the locks. Your fingers move less. Your focus stays on the screen. This simple tweak transforms the controller's responsiveness. It turns a standard input into a competitive advantage.
Keep the default settings in mind as a baseline. If the new feel is too aggressive, revert to the middle position. The locks are easy to move back. You can experiment until you find the right balance. This flexibility is part of what makes the device valuable for serious gamers.
Remap buttons to fit your hands
Button remapping is the most powerful way to tailor the Xbox Controller Elite 3 to your specific hand size. The standard layout forces your thumbs to travel far for basic actions. This design choice often slows down reaction times in fast-paced games. You can change every button assignment through the app interface. The process is simple and requires no technical skill. Just tap the button you want to change and select a new function.
The four back paddles are your biggest advantage. They sit where your middle and ring fingers rest naturally. This position keeps your thumbs firmly on the analog sticks. You never need to lift your hands to perform critical actions. Move frequently used commands to these rear buttons. This setup is essential for maintaining aim during intense moments.
Assign the 'Look Down' command to a back paddle. This allows you to check your surroundings without moving your right thumb. You can also map 'Reload' to a paddle for quicker weapon swaps. These small adjustments create a smoother gameplay experience. Your thumbs stay focused on movement and aiming. The paddles handle the rest of the work.
Ergonomic comfort is another key benefit of customization. Some players prefer the European button layout over the standard American one. You can swap the A/B or X/Y positions in the software. This change matches the physical feel of older console controllers. It reduces muscle memory conflicts for long-time gamers. The app lets you test these layouts instantly.
The device features an ergonomic design that supports these changes. Modular components allow for further physical tweaks later. But software remapping is the first step to comfort. Start by moving one or two buttons. Test the new layout in a low-stakes match. Adjust until the controls feel natural. Your hands will thank you for the extra space.
Fine-tune stick tension and dead zones
Thumbstick tension determines how your controller feels in your hand. The Elite Series 2 includes modular components that let you swap the physical rings inside the stick housing. You can choose between loose, medium, or tight resistance levels. This simple hardware change alters the precision of every movement.
Tight tension offers more resistance against your thumb. It helps you make small, precise adjustments without overshooting your target. Competitive shooters often benefit from this added stability. Loose tension allows for faster, wider sweeps of the camera. Racing games or fast-paced platformers usually feel better with a lighter touch. Test both settings in a live match to see which suits your style.
Software adjustments handle the digital side of stick performance. The Xbox Accessories app lets you tweak the dead zone for each thumbstick. A dead zone is the area around the center where the controller ignores minor input. This setting fixes two common problems. Stick drift occurs when the camera moves on its own. Oversensitivity happens when tiny thumb movements cause large camera shifts.
Increase the dead zone if your character walks without input. This tells the controller to ignore minor electrical noise or wear. Decrease the dead zone if your aim feels sluggish or unresponsive. This allows the software to register smaller movements as valid commands. These changes do not require any tools or physical disassembly. They happen entirely within the app interface.
Finding the perfect balance takes patience. Start with the default settings and make small increments. Change one variable at a time to track the effect. A 5 percent adjustment might feel subtle at first. Play for ten minutes to let your muscles adapt. Do not rush the process. Your hands need time to learn the new resistance and sensitivity levels.
The goal is a seamless connection between thought and action. You should not notice the controller at all. The aim should feel like an extension of your vision. If the stick feels too stiff, loosen the tension ring. If the aim feels jittery, widen the dead zone slightly. Keep testing until the movement feels natural and predictable.
This step completes the physical and digital calibration of your device. You have now adjusted the hardware tension and the software response. The controller should feel tailored to your specific needs. Save these settings to a dedicated profile for your main games. This ensures you do not lose your hard work after a reboot.
Regular maintenance keeps the sticks performing well. Dust and debris can affect the tension over time. Clean the modules gently with a dry cloth. Check the dead zone settings periodically as the hardware ages. Stick drift may return after months of heavy use. A small software tweak can often fix it without replacing parts.
Your next step is to lock in these settings. Create a separate profile for each game genre. This allows you to switch between tight aiming and loose movement instantly. The controller remembers your preferences across different devices. You are now ready to play with precision and comfort.
Save profiles for different games
The controller stores multiple configuration profiles in its internal memory. This feature lets you switch setups without reopening the app. You can create a dedicated layout for every game genre you play.
Start by saving a high-sensitivity profile for competitive shooters. Keep trigger locks short and dead zones minimal. This setup prioritizes raw speed and reaction time.
Create a second profile for racing or platforming games. Increase stick tension for precise steering control. Map camera angles to back paddles instead of face buttons. The controller remembers these distinct settings automatically.
Switching between profiles takes less than a second. Press and hold the small button near the Xbox logo. The light ring changes color to confirm the switch. You can cycle through up to three saved configurations instantly.
This flexibility turns one device into many. You do not need to carry separate controllers for different games. The premium gaming peripheral adapts to your current task.
Microsoft occasionally updates the companion app with new features. These patches may add fresh customization options or bug fixes. Check for updates regularly to keep your hardware current.
Your saved profiles remain safe during system restarts. They travel with the controller, not the console. Plug the device into a new Xbox or PC and your settings follow.
This portability matters for multi-platform gamers. You can maintain identical controls across Windows and console sessions. The learning curve drops significantly when muscle memory stays consistent.
Regularly review your profiles after major game patches. Developers sometimes change control schemes or add new inputs. Adjust your mappings to match the latest version.
The process takes only a few minutes. The long-term payoff is smoother gameplay and less fatigue. You spend less time fumbling with menus and more time playing.
Keep your most used profile as the default. Assign secondary layouts to specific titles you play frequently. This organization prevents accidental switches during intense matches.
The controller's memory capacity handles this load easily. You can experiment freely without worrying about data loss. Save early and save often.
Future app updates may introduce cloud sync features. This would allow sharing profiles across multiple devices. Watch for announcements regarding cross-platform integration.
For now, local storage remains the standard. It ensures your settings work even without an internet connection. This reliability is crucial for competitive play.
Mastering profile management completes your customization journey. You have tuned triggers, remapped buttons, and adjusted sticks. Now you have organized these changes for instant access.
The final step is practice. Use your new profiles in actual gameplay sessions. Note which settings feel natural and which need tweaking.
Refinement is an ongoing process. Your hands will adapt over weeks and months. Revisit the app periodically to make minor adjustments.
The goal is seamless interaction between player and machine. When the controller feels like an extension of your hand, you have succeeded. That level of comfort takes time to build.
Stay engaged with the gaming community for tips. Other players often share optimal configurations for popular titles. Borrow ideas that fit your personal style.
Your setup is now fully personalized. It reflects your unique preferences and play habits. Enjoy the precision and comfort you have earned.